Replacing the Front Porch Columns

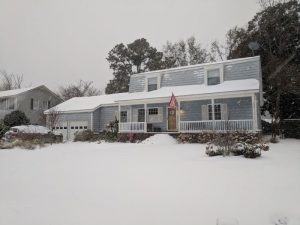
There’s a lot of plastic on our house.  Vinyl siding, railings, mouldings…none of it was maintained particularly well, so we’ll be replacing it over time with things like wood and metal.  This is the only picture I can find of the railing on our house before Katie and I got frustrated with it and I kicked it down:

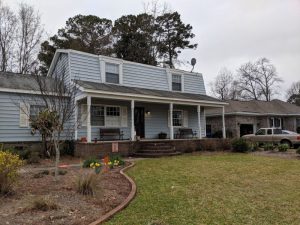
That picture doesn’t really let you appreciate how much of the railing was being supported with pieces of brick and other detritus wedged under the bottom rail.  After we demolished it, we were left with this:

Much better!  Except that demolition revealed that the reason the railing wasn’t attached to the columns was large amounts of wood rot.  Every time it rained, the hollow rails would collect with water and hold it against the wooden posts, so once the paint on the columns deteriorated, that was pretty much it.  Water almost always beats wood.  We couldn’t find any premade columns that we really liked, and we kind of liked the idea of doing something custom anyway, so we bought a bottle jack from Harbor Freight for $30 and went to town.

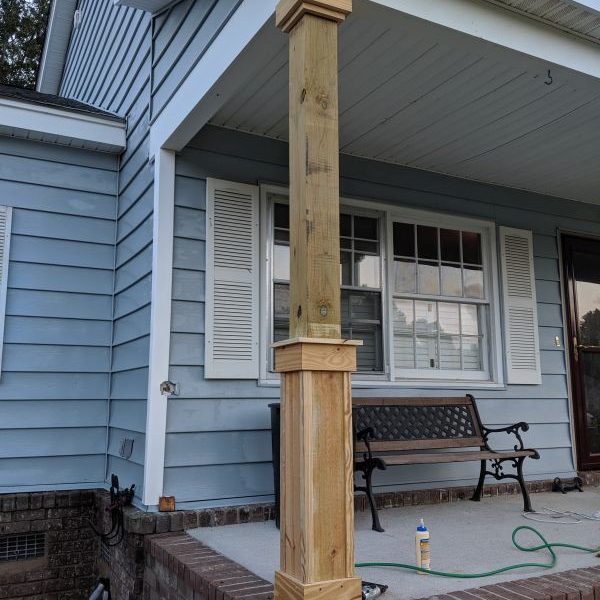
Hollow columns would probably have supported the roof with no problem, but we're us so we used pressure-treated 6x6s.
We used a circular saw to cut around all 4 edges of the column and then finished off the middle with the reciprocating saw.
We used a 2x4 to raise the roof, moved the old column around until it came out, and then replaced it with our new posts.
First column is in place.  We could breathe again.
First column is in place. We could breathe again.
All secured in.  These are resting on aluminum baseplates, so rust and decay shouldn't be an issue.
All secured in. These are resting on aluminum baseplates, so rust and decay shouldn't be an issue.
Once we had done a couple, I felt secure enough to step away and get a picture of the T in use.
All done!  No cave-ins, and the house is still standing!
All done! No cave-ins, and the house is still standing!
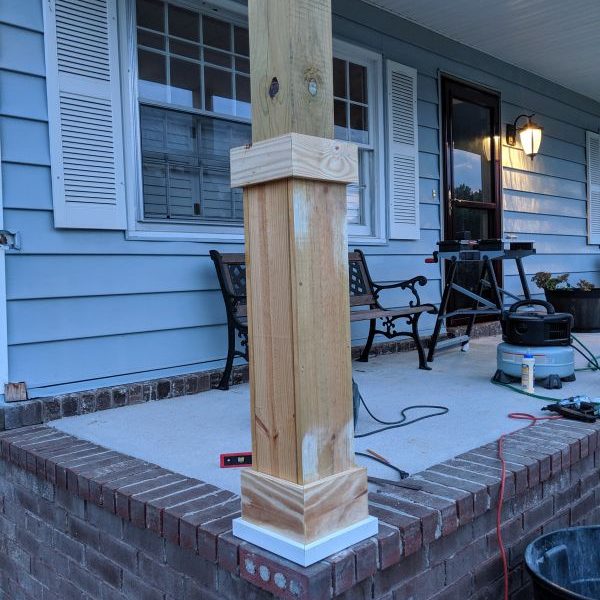
More treated wood and some PVC to pretty everything up.
Lots of glue, lots of nails.
Apparently, not enough glue or nails.  This only took a week or so to warp.
Apparently, not enough glue or nails. This only took a week or so to warp.
This time I used more glue and screws.
More better.
More better.
A little mitered box for the top of the bottom wrap.
Starting on the bottom moulding.  So many miter cuts.
Starting on the bottom moulding. So many miter cuts.
The very bottom is PVC, so it can get as wet as it wants and it'll never rot.
Making progress.  On to the tops!
Making progress. On to the tops!
Step one.
Step one.
Step two.
Step two.
As soon as I finished the last capital, it started pouring rain.  Break time!
As soon as I finished the last capital, it started pouring rain. Break time!
Mitering some more boards for the last component of the column wraps.
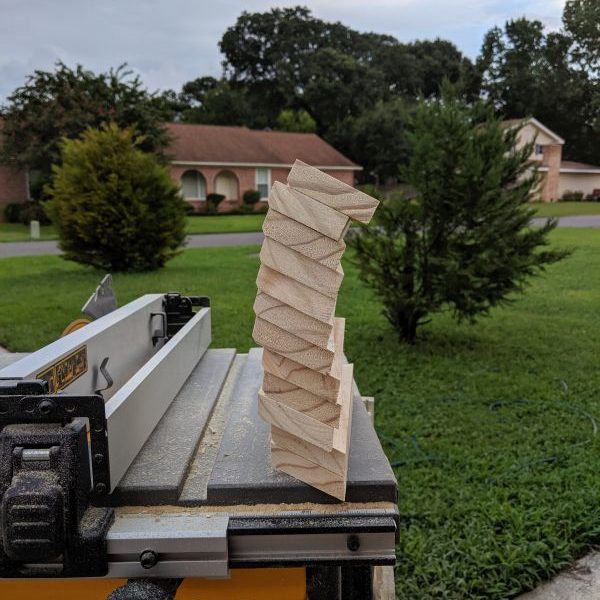
I ran all of these through the table saw to bevel the tops just enough for rain to run off and not collect.
It's hard to see the slope on the individual boards, but it adds up quickly when you stack them.
Finally done.
Finally done.
The finished product.  Time for caulk and paint!
The finished product. Time for caulk and paint!
Caulking and puttying took foreeeeeever.
I wanted to just leave them like this, but Katie said no.
All primed up and ready to paint!

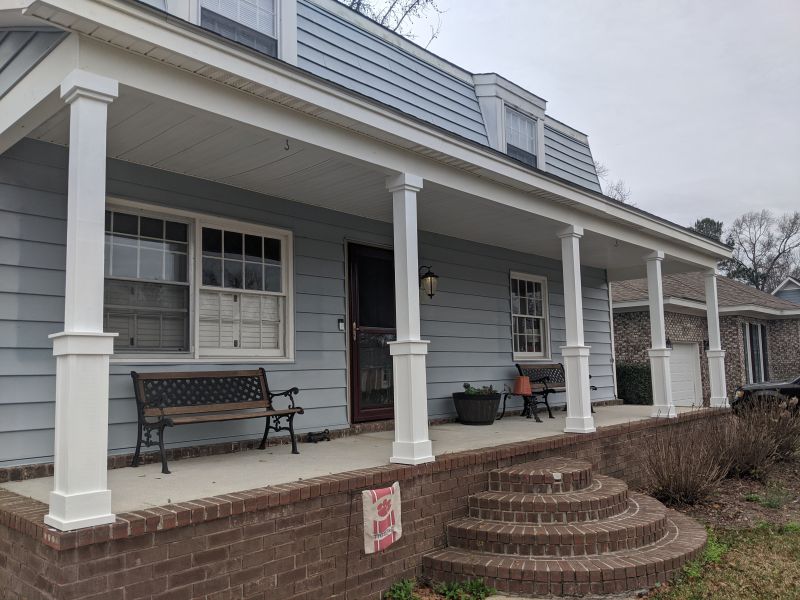
After a couple coats of paint, we were all finished.  File this one under “things we didn’t think we could do, but did anyway.”
Written by

4 comments / Add your comment below

Leave a Reply

This site uses Akismet to reduce spam. Learn how your comment data is processed.