Renovation Break: Cutting Boards

Ever since I got a planer for Christmas, I’ve been wanting to make some cutting boards.  What better way to learn than to give yourself a hard deadline, and to make exactly the number you need so that you can’t screw anything up?  Luckily, they came out pretty well:

Berlin G. Myers in Summerville sells these little bundles of different species of wood.  I'm using figured maple, cherry, and walnut.
Berlin G. Myers in Summerville sells these little bundles of different species of wood. I'm using figured maple, cherry, and walnut.
I've ripped a few strips of wood here.  You can also see the awful little plan I drew.
I've ripped a few strips of wood here. You can also see the awful little plan I drew.
Making sure the proportions of everything look right.
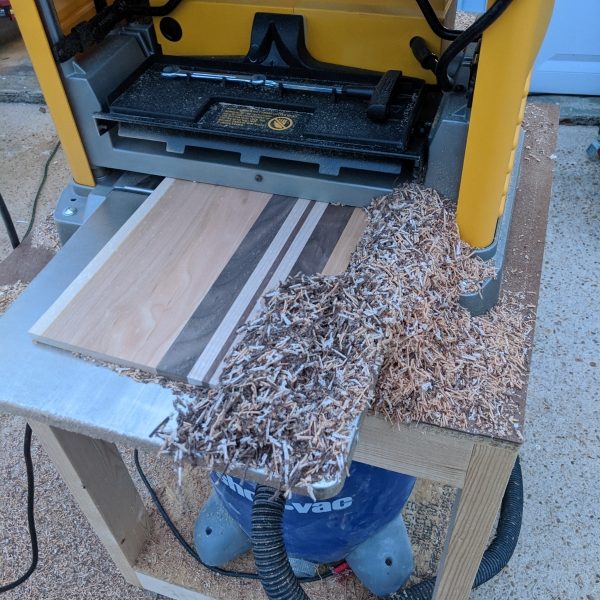
Action shot of the planer chewing up some cherry.
I made a mess.
I made a mess.
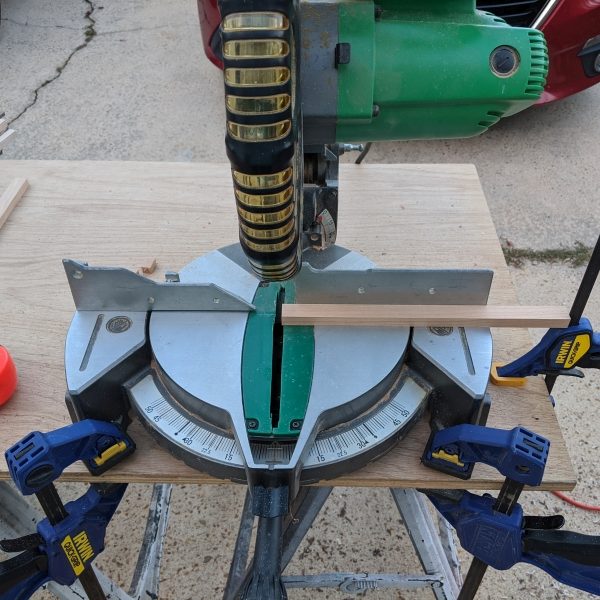
I hadn't build my crosscut sled yet, so I rigged up some clamps to act as a stop block.
Glue is on, ready for clamps.  I used Titebond 3 because it's easy to use and food-safe.
Glue is on, ready for clamps. I used Titebond 3 because it's easy to use and food-safe.
Clamped up and wiped off.
All glued up!
All glued up!

At this point I realized that I really needed a crosscut sled to ensure that I was trimming them up square.  I had an extra piece of 2’x4′ 3/4″ luan plywood left over from the upstairs bedroom window bench, some PVC from the front porch columns, and some 2x4s because I always have extra 2x4s from overbuying for other projects, so I put them all together.

Step 1: cut plywood to size
Step 2: lay your runners in the appropriate grooves and use glue to attach them to your plywood
Step 3: overkill fastening the runners to the plywood
Step 4: after attaching the back stiffener, turn the saw on and run the sled through to cut a groove
Step 5: square up your front fence
Step 6: cut!
Step 6: cut!

I’ve got a few things I still want to do to it like adding a safety block behind the front fence so I don’t forget where the blade comes out and installing a stop block-holding mechanism so that I can make uniform cuts, but it’s completely functional now and very square, from what I can tell.  With that side project done, I could finish things up.

After and before a run through the planer.
Making lots of chips.
I was initially going to knock the edges off with a chamfer bit in my router, but I wasn't crazy about the way this looked.
I eventually settled on a 1/8" roundover bit for the edges.
Big sigh of relief here - they're all done and I actually didn't screw anything up!
I used an old soldering iron to sign my work.
My very impressive finishing setup.
I used a classic combo of laxative and beeswax to finish my boards.
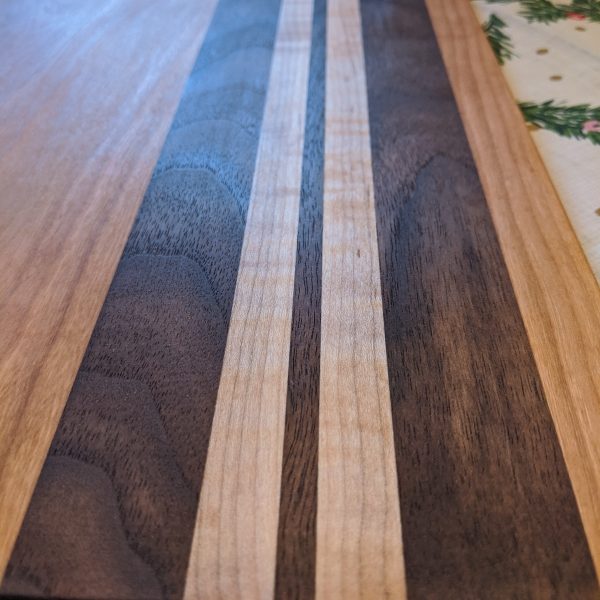
The finish really lights these up.  I was starting to get excited now.
The finish really lights these up. I was starting to get excited now.
IMG_20191224_131423
IMG_20191224_131522
IMG_20191224_131655
IMG_20191224_131549

I was super, super excited with how these turned out.  This was one of the first projects I’ve made that wasn’t just pine and stain, and I’m really looking forward to seeing what I can make with the wood I’ve got left over.  These should last for a really long time as long as they’re not put in the dishwasher and oiled or waxed once in a while.  As much fun as it was to make gifts, now it’s time to get back to renovations…

Written by

Leave a Reply

This site uses Akismet to reduce spam. Learn how your comment data is processed.