The week after we moved into the house, I was taking a shower upstairs while Katie was straightening her hair in the bathroom directly under me. All of a sudden, water started to drip out of the ceiling above her. Neat.
It turns out that the previous owners cracked the bathtub in the upstairs bathroom, and instead of patching it or replacing it like a sane, non-shady person, they just smeared some caulk on it so it would hold water during inspections. Once we started to use the bathtub, the caulk broke free of the plastic tub, and so water was free to roam the space between the first and second floors.
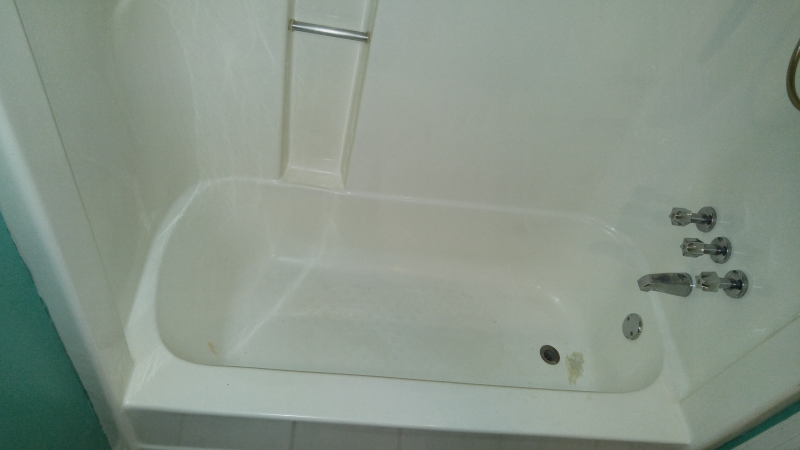
So, we decided that a new bathtub was in order. Because of the way that the tile laid over the edges of the tub, we’d probably have to replace some of the tile, too. And hey, since we were replacing some of the tile, why not go ahead and replace all of the tile and add some around the rest of the room? And if we’re doing that, why not change out the vanity, toilet, and lights too? With all of those questions bouncing around in our minds, we decided to take the bathroom down to the studs (mostly – I was able to save myself a little drywall work) and see what happened. Behold!
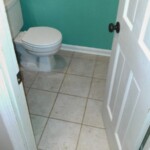
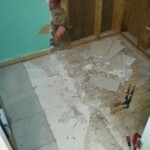
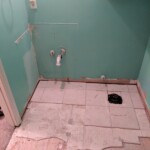
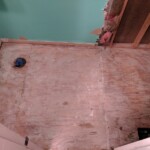
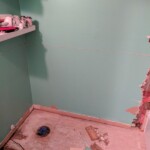
Here’s a quick taste of what the bathroom looked like before we got started and while I destroyed it. It was completely inoffensive and probably would have stayed this way for a while, but the tub got frisky and so it had to go.
Once the room was waterproofed, we were ready for tile. How long does it take to tile a 60 square foot room? The answer may surprise you!






Great idea and fun to follow along on here and in person with you guys!