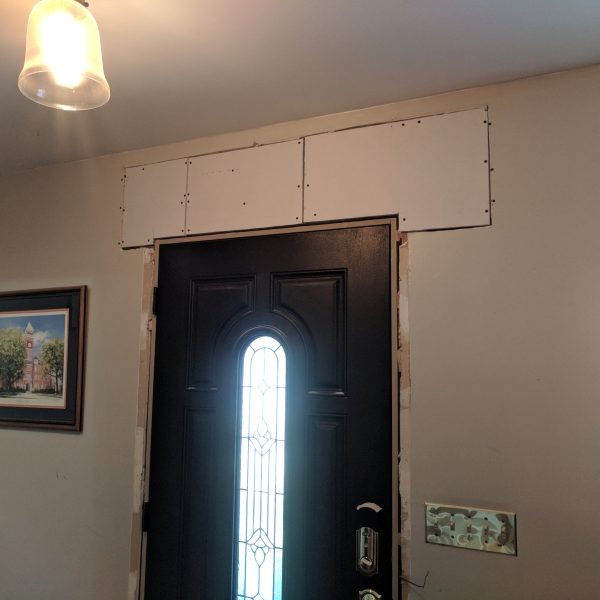
Whoever painted our house before we moved in selected a really lovely shade of baby diarrhea brown for the front door. Naturally, we decided that we’d like to have an entrance to the house that skewed a little less scatological. In a perfect world, this would involve spritzing a little paint stripper on the door, letting it work its magic, and then scraping everything off to reveal a beautifully-grained slab of wood that could be stained, polyurethaned, and enjoyed for many years to come.
In reality, after fighting with the paint scraper for a while, I discovered that there was another layer of paint under the copro-tastic brown. I took a knife and scraped some of that to discover another layer of paint, so Plan B was activated: let’s replace the front door! We’ve done this zero times before, so why not? After taking a trip to Home Depot, we discovered that the opening for the front door was two inches shorter than a standard opening. No problem – let’s open up the wall and raise the header!
At this point, I realized that the sky would be thestering soon and that I really needed to step on it if we were going to be able to sleep without a giant hole in the front of the house. You’ll just have to imagine me cutting a couple of inches off of the studs above the header, replacing the studs on either side of the door frame with longer studs, nailing the header back in place, and shimming the new door frame to the opening.
No scraping on the floor, no pulling on the handle to make sure the deadbolt catches, and no closing or opening on its own = a successfully replaced door. Plus, if we ever want or need to replace it again in the future, we’ve got a standard-sized opening to work with!


